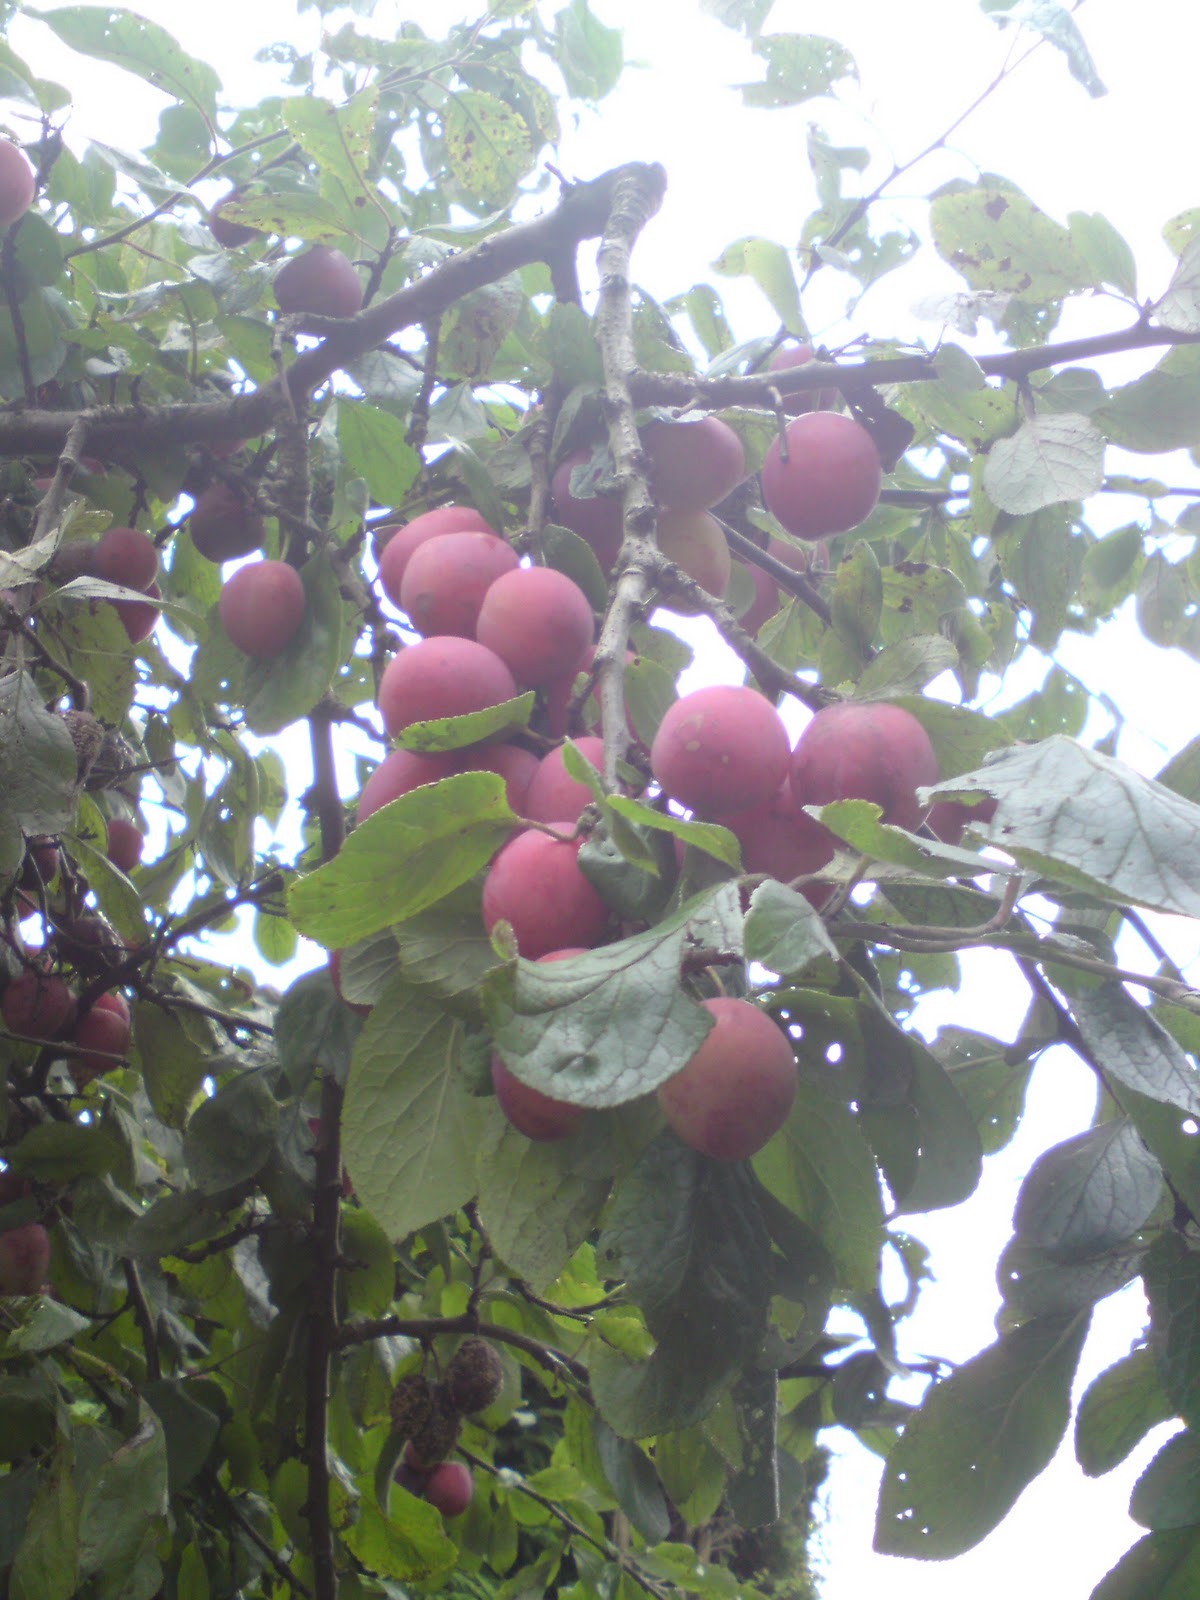
Friday, 30 September 2011

Yummy Plummy Jam

I know, the recipe is a day later than intended, but last night I was on a mission to complete the 'Mr & Mrs' pillowcases I was making for a wedding gift.  Job, done... now for the jam!


This recipe is one that has come from my Good Housekeeping Recipe Book, a fab recipe book that I wouldn't be without, but one that I scoffed at when my husband came home with it!!!

If you have never made jam before, read the notes I have done at the bottom of the recipe.

The recipe makes about 4.5kg (10lb) of jam

2.7kg (6lb) plums
900ml (1 1/2pts) water
2.7kg (6lb) sugar
knob of butter

1.  Put the plums and water in a preserving pan and simmer gently for 30mins until the fruit is soft and liquid well reduced.

2.  Remove from the pan from the heat and add the sugar, stirring until dissolved, then add the knob of butter and return to the heat.  Bring back to the boil and boil rapidly for 10-15mins, stirring frequently until setting point is reached (please read notes).

3.  Take the pan off the heat, and use a slotted spoon to remove the plum stones, and any scum from the surface of the jam.  Pot and cover.

NOTE:  If dessert plums are used, add the juice of 1 large lemon.

MAKING JAM 

*  Don't use over ripe fruit when making jam as this can cause your jam to mould.

•  Use a preserving pan or very large pan so that you can maintain a fast boil without everything boiling over.  Make sure your pan is never more than half full when you start.  If you don't have a big enough pan split the fruit in half before adding the sugar and do in two batches.

•  How do you know when you have reached setting point?  It is important to test frequently for a setting point as if over cooked the jam will caramelize   The easiest way is with a sugar thermometer.  It is at setting point at 105°C (221°F).  If you don't have a sugar thermometer you can do the saucer test.  Put a couple of saucers in the fridge before you start making your jam.  At the end of step 2 put a little of your jam onto the saucer, push your finger across the jam, if it wrinkles and is beginning to set it has reached setting point.  If not boil jam for another 5 mins and repeat the test.

•  You must use spotlessly clean containers.  Use hot soapy water to wash, rinse thoroughly and dry in a warm oven.  Stand upside down on a clean tea towel in your oven until the jam is ready.  Cold jars are likely to crack when you pour the hot jam in.  Fill the jars almost to the top and immediately seal with a wax disc.  Leave to go completely cold before covering with dampened cellophane and securing with an elastic band.  If the jam is warm when it is sealed mould will grow on the surface.

Jam making is definitely a job where you need a pinny.  These would be my favourite jam making pinnies, but I have more in my shop here if you fancy treating yourself before you start!


Wednesday, 28 September 2011

Harvest Time


My daughter has been coming home from school singing harvest songs this week.  I love the fact that harvest is still celebrated in schools, giving the opportunity to celebrate food, and talk about where it has come from.  It is too easy to walk into a supermarket and pick up and bag of potatoes or apples, and not think about where it has come from, or how it has been grown.  I remember watching, I think it was a Jamie Oliver's series... yes, it was the school dinner one, where one child didn't know what chips are made from (should be made from!!!).  I feel that a large part of society has lost touch with food, it's roots, and the community it creates.  Food really should be celebrated more!  

Anyway, I digress.  The reason I was telling you this, is because it reminded me that I still hadn't done my blog posts on plums!!  (I am still playing catch up from the school holidays!)  We are lucky enough to have 3 fabulous plum trees in our garden that supply us with more plums than we can possibly eat!!!  

In the past amongst various puddings, cakes, compote, etc., I have made plum jam... I love making jam.  I have always loved making jam.  I remember as a small child, going round to Uncle Ernie's and Aunty Marjories (an elderly couple that lived across the back street, that I adopted after my little sister, was born!!) and helping Aunty Marjorie make strawberry jam with the strawberries Uncle Ernie had grown on the allotment (the very same allotment my dad has now!).  

As I got older I made my own... blackcurrant jam (my favourite) with blackcurrants I painstakingly picked from my dads allotment.  Unfortunately his blackcurrant bushes have been neglected over the years, but he has said that he plans to get the sorted for next year, so hopefully it will be blackcurrant jam I will be writing about.


When we moved into this house, it was lovely to find that we could harvest our own plums (I love watching the children go onto the garden to pick their pudding!!!)... and make plum jam!  There is something deeply satisfying from picking something that has grown in your garden, and making delicious food with it. 

Tomorrow comes the jam recipe, and then I might share my lovely plum cake recipe too!!


Wednesday, 21 September 2011

A visit to see the works of Peter Randall-Page in Wigan

When I was told that Peter Randall-Page was going to be exhibiting in Drumcroon Gallery, Wigan, I felt my eyebrow raise a little!  Those of you who had had the pleasure of experiencing his work will know that quite often, they are very large sculptures beautifully carved from stone.  Today I finally managed to get over to visit the exhibition;  Showing his Hand: Peter Randall-Page Small Works, and I am so glad I did as it reminded me how much I love his work.  

I have visited the Yorkshire Sculpture Park on numerous occasions, and have experienced some of his work there.  When I say experience, I really do mean experienced.  Although extremely pleasing to the eye, Peter Randall-Page's work calls out to be touched, and I love it when a piece of art work (or fabric!!!) does that to me.

The exhibition in Drumcroon Gallery was on a much smaller scale, there was a large number of pieces of print work that I loved, some small scale sculptures and some maquettes  (a small scale version) of larger pieces of sculpture.

Time for some images.  If you do want to find out more about Peter Randall-Page, you can visit his website here.

These prints excited me, due to there utter simplicity, and the reminder of the prints that we used to make with splodges of paint as children.  They are done by putting, in this instance, ink on one side of a folded piece of paper and then folding in half to create a mirror image.  So simple, yet so effective!


More print work.


These were created using pieces of tile.


And some sculptural work, although stunning looking, they don't have the same impact as in real life.  If you like them, please do seek some out to visit as you will love them!

This was the Tinkers favourite.
He requested that I should take a photo of this one!

Unfortunately this was in a glass cabinet so I was unable to touch it.
There is a large version named 'Seed' that you can see here.  I'm not sure where its locality is,
so if you have any idea, please let me know.

I love this...


... and it looked spectacular with the pieces it was sat with!


Fab!!  I hope you have enjoyed looking at these, and if you have and have never experienced his work first hand, do seek some out.

Leaving on a sad note... I was very sorry to hear that there is a very strong likelihood that the gallery will be closing in the near future.  Unfortunately Wigan Council are blinkered to the work that they do, and the important role it plays for people that may not have the opportunity to access similar provision elsewhere.  I wrote about it earlier in the year, and was sad and angered by the news today.  It managed to hang on during the cuts in the 1980's, things really are looking bleak!  Thinking of all those who have put in hard work and shown passion for the work they have done there over the years. x

Monday, 19 September 2011

A Little Deer

A few months back I was doing a little doodling, and sketched a little deer...


... I love the vintage style 'Bambi' deers with over sized heads...


... so had to make myself one!!!


I think she is rather cute... she has the 'ahhh' factor, and is perfect for little hands to hold.  I love the way she looks in vintage fabric, and feel it is in keeping with the era of the style.  

This is a sneak preview of things to come, I will be creating some of these to sell!  They will all be made using vintage fabrics, and will therefore be a limited number of each, so keep your eyes open for the ones you like!

Although she doesn't really have a name, when I glimpse her in my room 'Dilly' springs to mind.   So what do you think then?  Should I stick with Dilly or do you have any other suggestions?


Saturday, 17 September 2011

Loula Belle At Home for children.

At the moment Loula Belle At Home is focusing on children as I feel it is important to encourage children to become more involved in activities in the home.

One of the activities that is very close to my heart, is the importance of learning how to cook, and having confidence in the kitchen.  With this in mind I have put together Little Belle, and Little Beau Utility Pinny Sets for age 2-6 year olds, consisting of a little denim pinny with an adjustable strap and pocket (for storing kitchen utensils if cooking, and gardening tools if gardening), a matching neckerchief...


... and a little bag to pop it in when it's not in use.  

My little boy loves putting on his utility pinny and helping mummy around the house whether this be cooking (which he loves) or getting the duster out, I'm sure you know someone that would love to look the part too!  These gift sets are available to buy online here.

N.B Keep your eyes open over the next month or so for the children's kits I am working on!


Tuesday, 13 September 2011

The Fairy has been learning to use a sewing machine!

I was very excited when the Fairy received this as one of her birthday presents.  I loved Clothkits as a child, especially these lovely dolls, and some of the first garments I ever made using a sewing machine were Clothkits.  It was sad when the company became dormant during the 1980's after they were bought out.  However, the relaunched in 2008 has provided us once again with some lovely products.  They are even offering to make some of their products for you if you really don't want to do it yourself.

I had been planning for a while to show the Fairy how to use a sewing machine, and this gave me the perfect opportunity to do so, so over the summer we got to work.

I prepped it for her, ironing it and cutting it out.  Although she is extremely competent when it comes to using scissors, we both would have been very upset if a mistake was made.  Incidentally, I added 5mm to the seam allowance as there was only 5mm given!  Apparently on their newer designs this has been taken into account and a 1cm seam allowance given.

She then put the pieces together and pinned them in place...


... before getting to work.


It was actually quite a tricky project for a first project.  There were quite a few curves to navigate, which resulted in me bending over her, helping her to guide the fabric, whilst she worked the machine.  The straight bits she could manage by herself whilst I stretched my back!!!

She was very disappointed when she had finished because she had enjoyed using my machine.  I assured her that this was only the beginning and that she can do some more, starting with the little top that was also bought for her doll.

Welcome to the family Kiki.

Kiki camping in Nidderdale!


Monday, 12 September 2011

The Tinkers Birthday Part 2- brum, brum!!

Oooops, I got so carried away with my cake from Wacky Races that I nearly forgot the card that I made for him!  A little more paper cutting. 


You can see some more examples of my paper cutting here and here.